
Last updated November 2, 2026
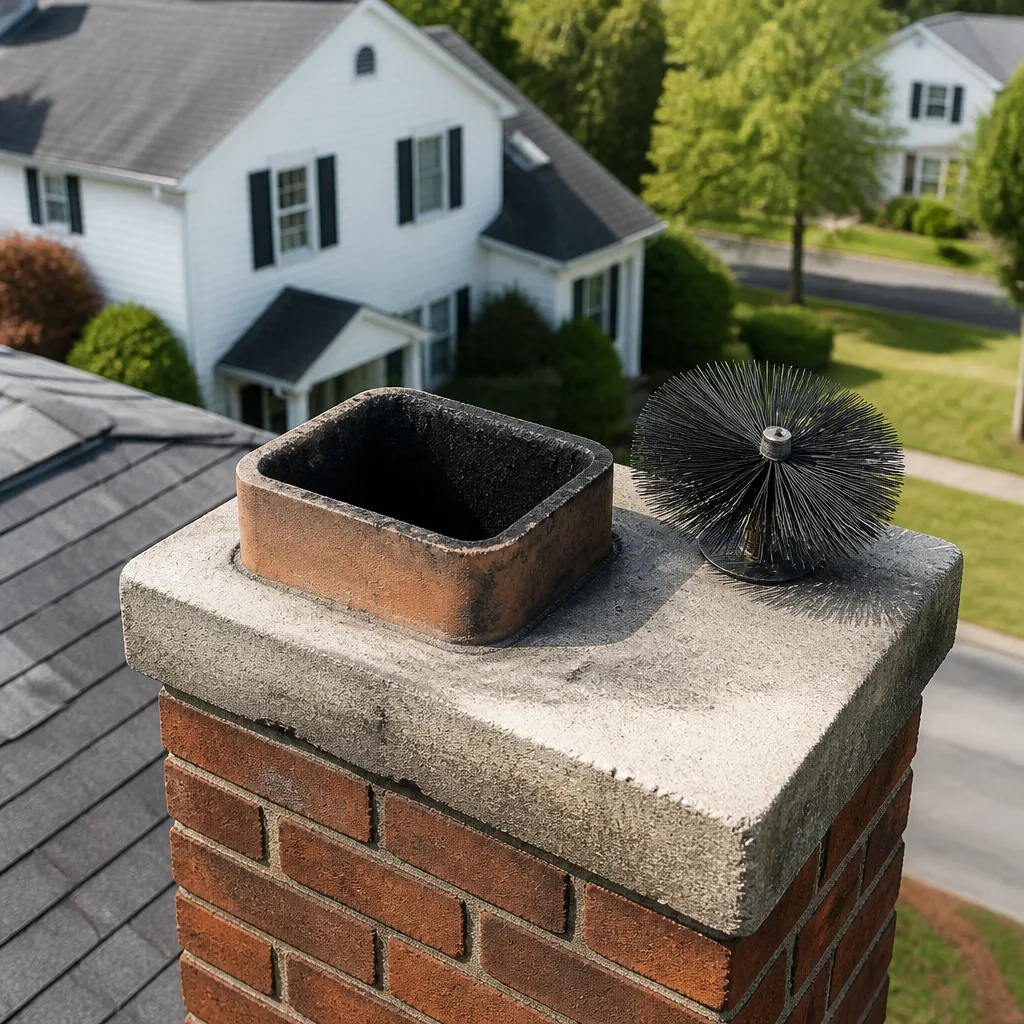 Sweep & inspection
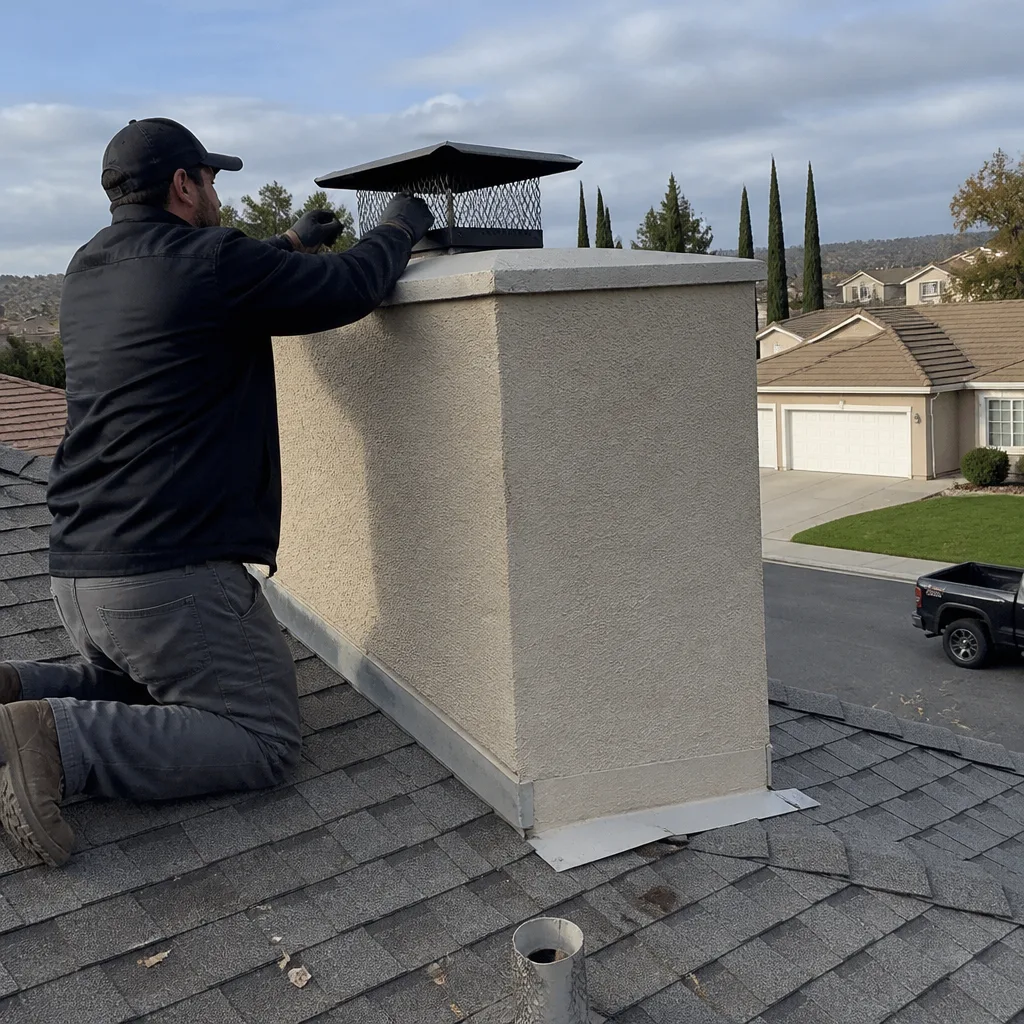
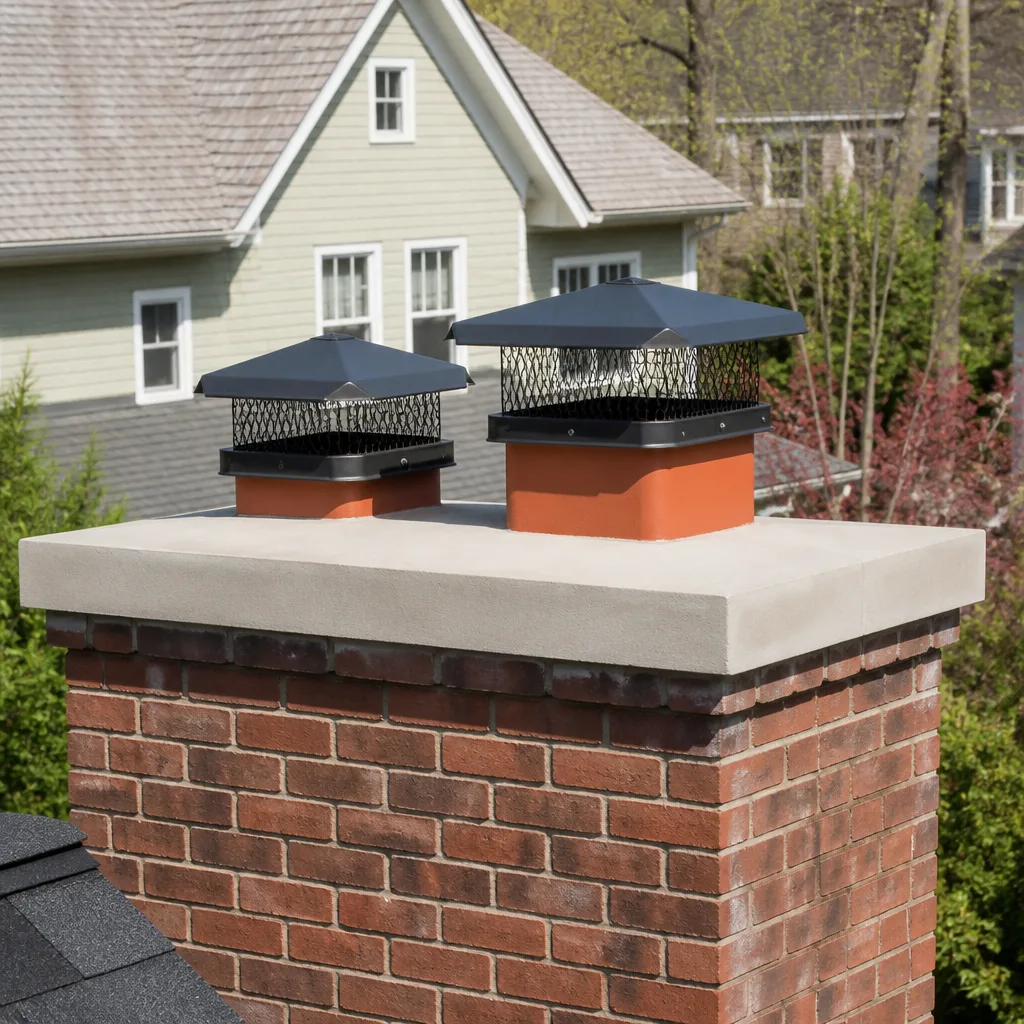 Caps & crowns
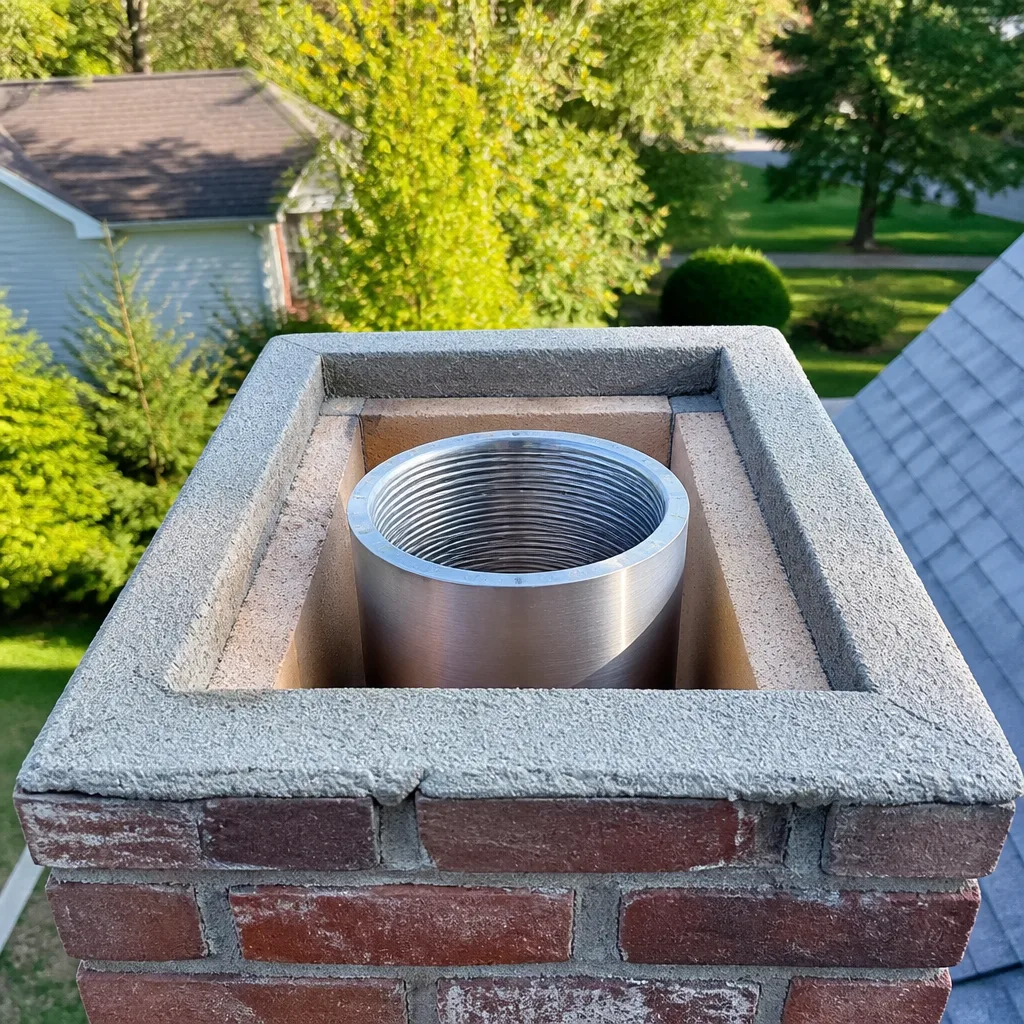 Flue relining
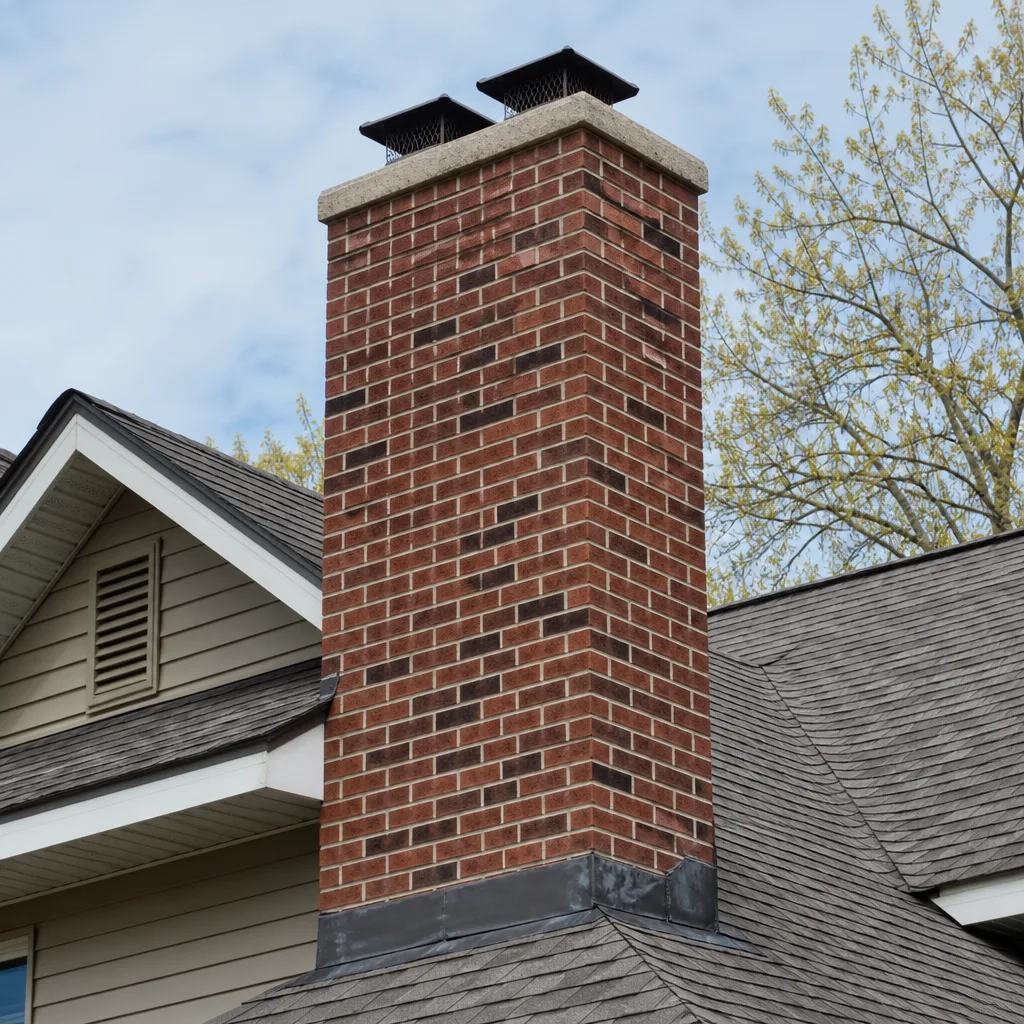 Masonry repair
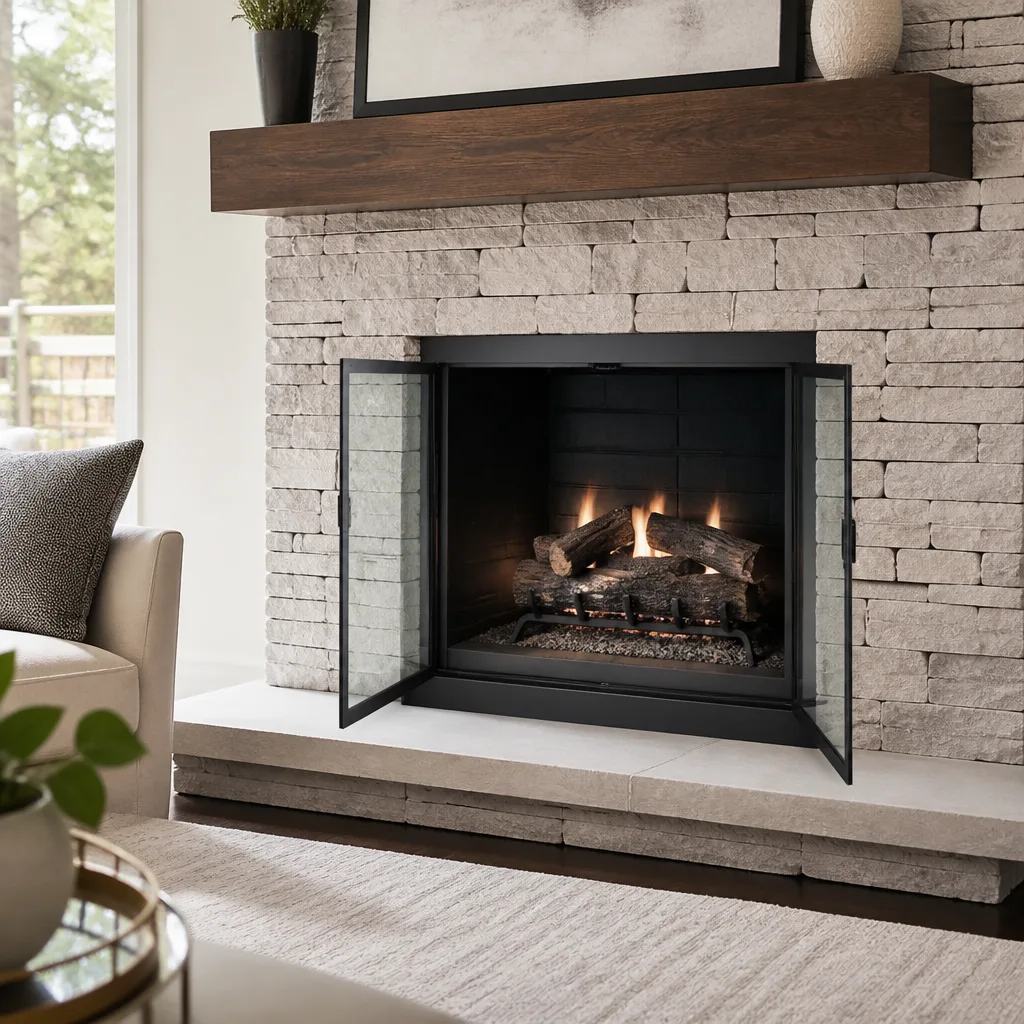 Gas fireplace service
Level 1 sweep and inspection to the NFPA 211 annual standard - flue, crown, cap, and flashing checked and photographed
Chimney sweep logs do not sweep chimneys. They loosen some creosote - which then falls where a brush and vacuum still have to collect it.
DIY vs Professional Chimney Cleaning: The Folsom Homeowner’s Decision Guide
Here’s a number that surprises most Folsom homeowners: the National Fire Protection Association reports that chimney fires account for roughly 25,000 residential fires annually in the United States, and the majority share one common thread – creosote buildup that the homeowner never saw coming. This guide exists because the DIY-versus-professional question isn’t really about saving money. It’s about understanding what your eyes can actually see from the firebox opening and what they can’t. If you live in Folsom and you burn wood, pellet, or even run a gas insert regularly, you’ll leave with a clear-eyed picture of where homeowner maintenance ends and structural necessity begins.
Styles & brands we work with
- Sweep & inspection
- Caps & crowns
- Flue relining
- Masonry repair
- Gas fireplace service
Quick Answer
DIY chimney cleaning works for surface-level ash and light soot removal in the firebox and the first few feet of flue you can see from below, but it does not reach the smoke chamber, smoke shelf, or upper flue liner where creosote concentrates and hardens. In Folsom homes with offset flues or two-story connector runs, consumer kits top out long before the critical zones. Professional cleaning with rotary systems and camera verification costs more because it accesses what your brush physically cannot, and it documents conditions your insurance company may want to see after an incident.
Table of Contents
- What DIY Kits Actually Access (and What They Miss)
- The Folsom Home Types Where DIY Risk Is Highest
- Creosote Stages: Why Stage 2 and 3 Defeat Consumer Brushes
- Liability and Insurance: The California Reality of DIY Chimney Work
- The DIY Maintenance Tasks That Actually Make Sense
- What a Professional Sweep Actually Involves
- What It Costs: DIY vs Professional in Folsom
- Common Mistakes to Avoid
- When to Call a Professional
- Frequently Asked Questions
- The Bottom Line
What DIY Kits Actually Access (and What They Miss)
Consumer chimney cleaning kits sold at hardware stores and online retailers typically include a set of polypropylene rods, a 6-inch or 8-inch wire or poly brush head, and sometimes a drill attachment. The rods snap together in 3-foot sections. Most kits sell with enough rod length to reach 18 to 24 feet. That sounds adequate until you consider what a typical Folsom fireplace actually looks like on the inside.
The average single-story ranch home in Folsom built between 1960 and 1990 has a flue that runs 12 to 18 feet from firebox to crown. A two-story home in neighborhoods like Broadstone or Empire Ranch can push that to 25 to 30 feet, often with one or two offsets where the flue jogs around framing members. Each offset introduces a bend where a flexible poly rod loses push force and where a wire brush can catch on mortar joints and corroded liner sections.
Here’s what a consumer kit reliably cleans:
- The firebox floor and walls: Ash and loose soot within reach of a shop vacuum and hand brush.
- The first 6 to 10 feet of flue liner: The straight section directly above the damper, assuming no offset sits in that span.
- The damper plate surface: Light soot that brushes off with effort.
Here’s what a consumer kit cannot reach with any meaningful effectiveness:
- The smoke shelf: The flat or concave shelf behind the damper where debris accumulates. Consumer brushes can’t angle into it.
- The smoke chamber: The corbeled masonry section above the smoke shelf, which narrows toward the flue. Creosote collects thickly here, and the corbeled steps deflect any straight-line brush.
- The upper flue liner behind the first offset: Once the flue bends, poly rods flex and lose contact. Hundreds of square inches of liner surface remain untouched.
- The crown and cap underside: You can inspect these from the roof, but cleaning them requires access and tools most homeowners don’t own.
In our experience sweeping chimneys in Folsom’s older ranch neighborhoods, the smoke chamber is consistently the dirtiest part of the system and almost never gets touched by DIY efforts. It’s not that homeowners are careless. It’s that the geometry of the chamber defeats a straight brush by design.
The Folsom Home Types Where DIY Risk Is Highest
Folsom’s housing stock spans several distinct eras, and each presents different challenges for chimney access. Understanding which category your home falls into tells you a lot about what a DIY cleaning will and won’t accomplish.
1960s-1970s ranch homes in neighborhoods near Folsom Boulevard and around the older sections of town often have masonry fireplaces built with offset flues. Builders angled flues to avoid rafters and trusses, which means the liner path isn’t straight. These offsets are exactly where poly rods bind and where wire brush heads scrape mortar joints, sometimes dislodging pieces of deteriorated clay tile. If your Folsom ranch home still has its original clay tile liner, aggressive DIY brushing can accelerate damage that’s already decades in the making.
1980s-1990s two-story homes in communities like Broadstone, Lexington Hills, and American River Canyon North typically feature factory-built metal chimneys with longer connector runs. The total flue length often exceeds 25 feet. Consumer rod kits flex significantly past 15 feet, and pushing a brush through a 25-foot metal flue with three bends is like threading a wet noodle through a straw. The brush loses contact with the liner walls along most of its length.
2000s-and-newer builds across Folsom Ranch and the southern growth areas often have pre-fabricated fireplaces or direct-vent gas units. These systems have specific clearance and component requirements. Disassembly for cleaning isn’t a homeowner task, and the instruction manuals generally state as much.
The point isn’t that DIY is impossible. It’s that Folsom’s architectural mix includes exactly the home types where DIY is least effective. If you’re in a ranch home with an offset flue, you’re likely covering 30 to 40 percent of the liner surface at best. That’s not a cleaning. That’s a false sense of completion.
Creosote Stages: Why Stage 2 and 3 Defeat Consumer Brushes
Creosote is not one substance. It forms in three distinct stages, and the stage present in your flue determines whether any brush, consumer or professional, can remove it.
Stage 1 creosote is the fluffy, gray or brown soot that builds up during the first few fires of a season. It has a high moisture content and brushes off relatively easily. This is the stage most DIY kits can address, assuming the flue is straight enough for the brush to reach the deposit. A homeowner who burns dry hardwoods and has a straight flue might manage a meaningful Stage 1 cleaning.
Stage 2 creosote is a granular, crunchy deposit that looks like black cornflakes or coffee grounds. It forms when flue gas temperatures fluctuate, particularly in exterior chimneys or during shoulder-season burning when fires run low and slow. Stage 2 creosote resists wire brushes. It requires mechanical removal with rotary loops or chains, or chemical treatment with products designed to break down the bond between creosote and liner surface. No consumer brush kit on the market generates the necessary abrasion.
Quick Reference: Creosote Stages
- Stage 1: Fluffy soot, brown/gray, brushes off. DIY-addressable in straight flues.
- Stage 2: Granular, flaky, black. Requires rotary loops or chemical treatment. Not DIY-addressable.
- Stage 3: Glazed, tar-like, hard. Requires chemical treatment plus rotary removal, sometimes liner replacement. Definitely not DIY-addressable.
Stage 3 creosote is the dangerous one. It’s a hardened, shiny, tar-like glaze that coats the liner like candle wax. Stage 3 creosote is highly concentrated fuel. Chimney fires involving Stage 3 deposits burn hot enough to crack clay tile liners and warp metal flues. Removing Stage 3 creosote requires chemical treatments applied over multiple applications, combined with aggressive rotary cleaning. In many cases, the deposit has already damaged the liner underneath, which means the correct fix involves resurfacing or relining, not just sweeping.
Where consumer kits get homeowners into trouble is the transition from Stage 1 to Stage 2. Burning unseasoned wood, which is common in Folsom winters when firewood sellers run low on properly dried oak, pushes creosote formation into Stage 2 quickly. A homeowner who swept successfully in October might find a Stage 2 glaze in January and their wire brush simply skates across it. The brush feels like it’s working. It isn’t.
Liability and Insurance: The California Reality of DIY Chimney Work
This section doesn’t get enough attention in the DIY-versus-professional debate. If a chimney fire occurs in a Folsom home and the homeowner performed their own last cleaning, the insurance claim process changes. Most homeowners insurance policies in California cover chimney fire damage, but adjusters routinely request documentation of maintenance history. A receipt from a professional chimney sweep in Folsom is documentation. A trip to the hardware store for brushes is not.
Here’s how it typically plays out: adjusters ask when the chimney was last cleaned and by whom. A professional company provides an invoice with the date of service, the technician’s findings, and post-cleaning photos or notes. A homeowner who cleaned their own chimney has none of this. The absence of documentation doesn’t automatically void a claim, but it opens the door to questions about whether the homeowners fulfilled their maintenance obligation under the policy. Insurance policies require homeowners to maintain their property in a reasonable manner. Professional chimney cleaning exists as evidence that this obligation was met.
The liability question extends beyond your own policy. If you perform chimney work on a rental property you own in Folsom and a fire occurs, your exposure is higher. Tenants may pursue claims based on negligent maintenance. A documented professional cleaning history provides a defense. A DIY cleaning history doesn’t.
Additionally, some local jurisdictions and HOA communities in Folsom have design standards that govern rooftop work and exterior modifications. If your DIY efforts involve climbing onto the roof, which is the only way to properly inspect a chimney crown and cap, you’re now adding fall risk to the equation. Falls from roofs are among the most common sources of severe home injuries. Professional sweeps carry workers’ compensation insurance specifically because roof access is an inherent part of the job.
The DIY Maintenance Tasks That Actually Make Sense
Not all of this points toward hiring us for everything. There are real, valuable maintenance tasks a Folsom homeowner can and should perform between professional cleanings, as outlined in our Seasonal Chimney Cleaning Care for Folsom guide. These tasks don’t replace a sweep, but they complement one, and they keep your fireplace operating safely and efficiently through the burn season.
- Monthly firebox inspection: After the firebox cools, use a flashlight to examine the refractory panels or firebrick for cracks, gaps, or spalling. Missing mortar between firebricks allows heat to reach combustible framing behind the firebox. Note any changes and mention them at your next professional service.
- Ash removal after every 1 to 2 inches of accumulation: Use a metal shovel and metal bucket with a tight lid. Coal beds can stay for relighting, but ash buildup restricts airflow and makes fires burn smokier, which accelerates creosote formation. Always let ashes cool for a minimum of 72 hours before removal, and store the bucket outside, away from the house.
- Cap and screen visual check from the ground: Use binoculars to look at your chimney cap. Check for visible rust, missing screen mesh, bird nesting material, or debris accumulation. You don’t need to climb up to identify an obvious problem.
- Door gasket inspection on wood stoves: If you have a wood stove or insert, test the door gasket by closing the door on a dollar bill. If the bill pulls out easily, the gasket is worn and needs replacing. A loose gasket lets excess air into the firebox, which changes burn temperatures and increases creosote production.
- Glass door cleaning with appropriate cleaners: Use cleaners formulated for fireplace glass, not standard window glass sprays which can etch or damage the ceramic glass on modern units. Clean glass when cold.
- Seasonal damper check: Open and close the damper fully to verify it operates smoothly and seats correctly. A stuck or misaligned damper changes draft and creates smoking problems. Some adjustment is possible with common tools, but damper replacement is a professional task.
Each of these tasks is within a careful homeowner’s ability, and none requires roof access or specialized equipment. They’re also tasks that reveal the need for professional attention. Cracks you spot in a firebox inspection, a damper that won’t seat, a cap with nesting material crammed into it, a gasket that’s failing: these are data points to report when you schedule a sweep.
What a Professional Sweep Actually Involves
Understanding what happens during a professional cleaning clarifies what you’re paying for, and why it differs fundamentally from a hardware store brush kit. A professional chimney sweep in Folsom performs a process with multiple distinct phases, each serving a purpose beyond scrubbing soot.
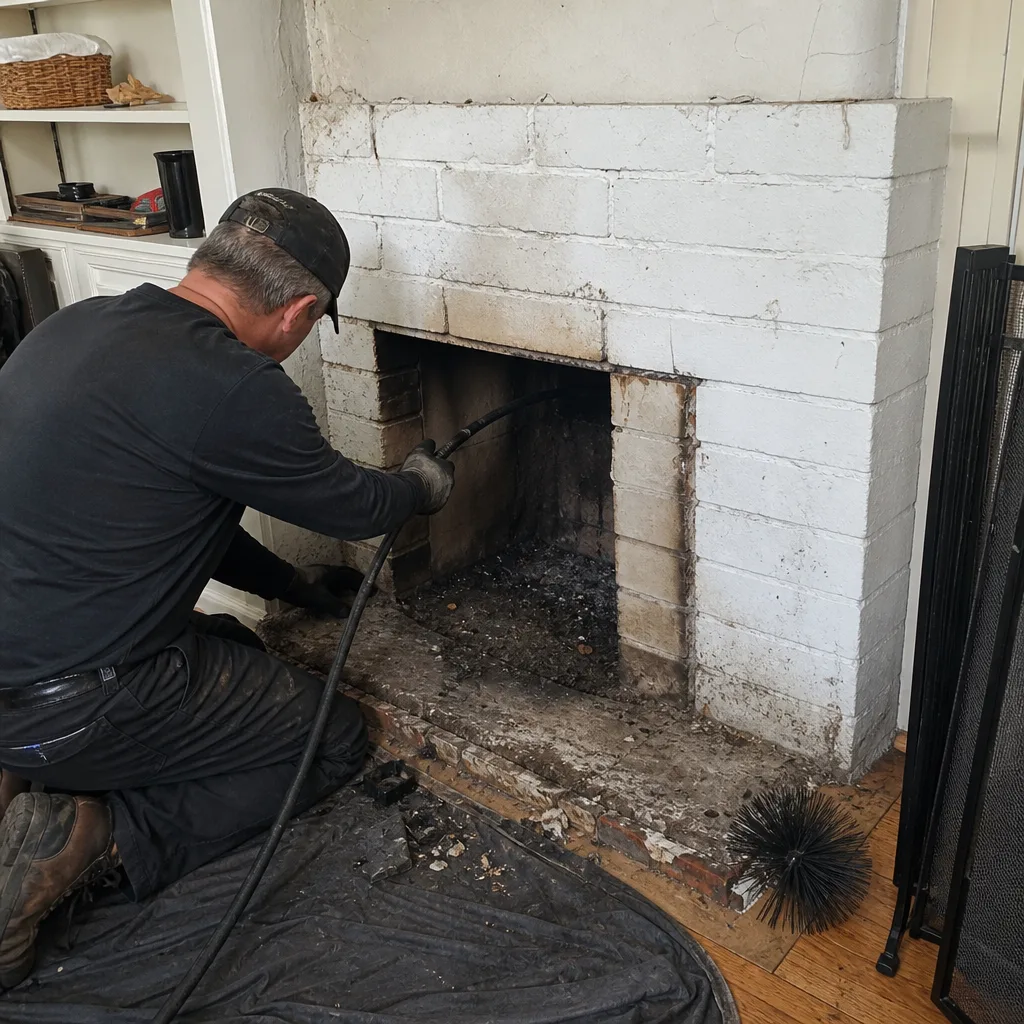
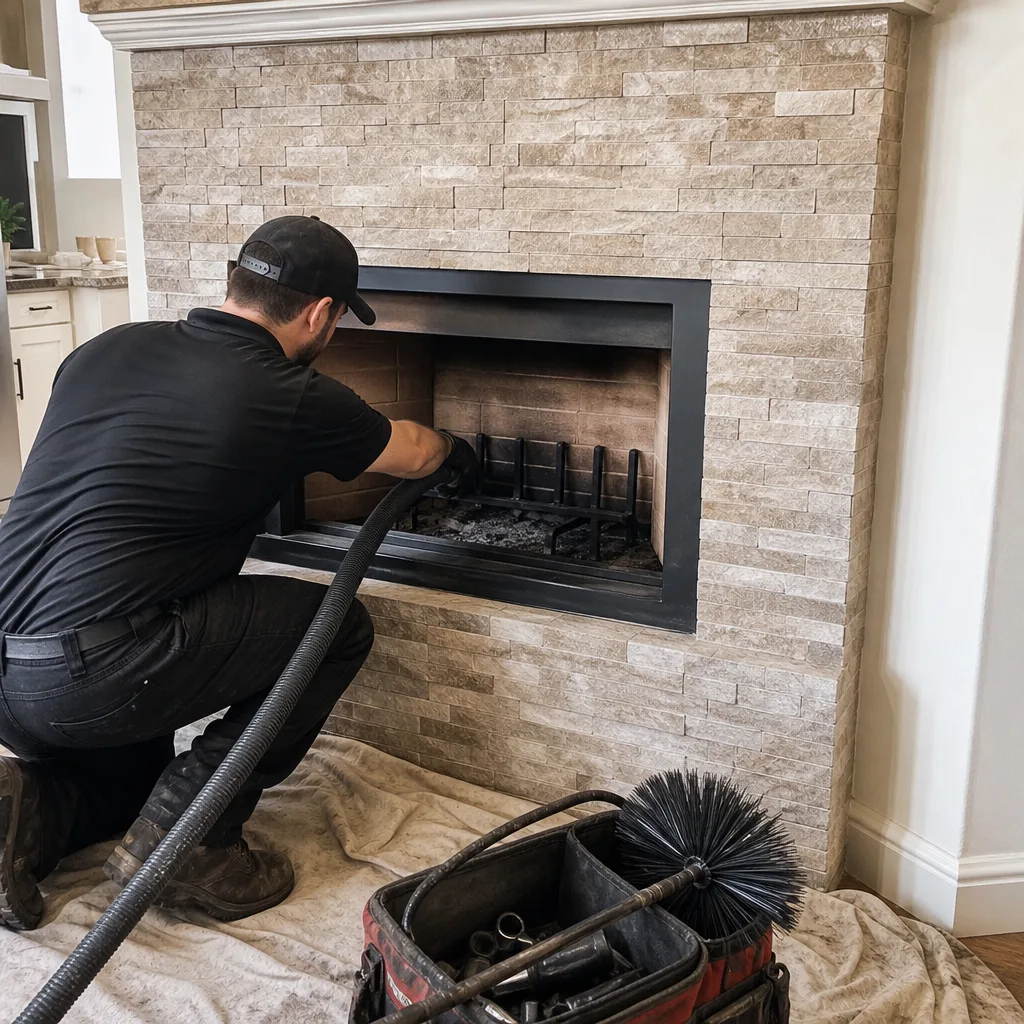
Phase 1: Interior protection and setup. Before any brush goes up the flue, the technician lays drop cloths from the entry door to the fireplace and sets up a high-CFM vacuum with HEPA filtration at the firebox opening. This vacuum runs continuously during the entire cleaning to capture dust and debris at the source. Consumer cleaning without proper vacuum containment fills the living room with a fine black dust that settles on furniture and carpet. The vacuum setup is the difference between a messy DIY afternoon and a clean professional visit.
Phase 2: Mechanical agitation of the flue. The technician selects brush type based on liner material. Clay tile gets a wire brush or rotary loops. Stainless steel liners get a poly brush to avoid scratching. The brush is pushed through the entire flue length, from firebox to crown, with deliberate passes through each section, including offsets. Where Stage 2 or Stage 3 creosote is present, rotary equipment with chains or aggressive loops provides the mechanical action that consumer brushes cannot generate.
Phase 3: Smoke chamber and smoke shelf cleaning. This is where the difference between DIY and professional access becomes undeniable. The technician reaches above the damper with extension tools and angled brushes to clean the shelf and chamber walls. This is the most common location for hidden creosote accumulation, and it’s invisible from the firebox.
Phase 4: Visual inspection and photographic documentation. After cleaning, the technician inspects the entire system, often with a camera pushed through the flue. This camera footage shows liner condition, mortar joint integrity, offset condition, and any gaps or cracks that pose fire risks. You receive a report of conditions found. This documentation is what your insurance company expects to see if something happens later.
Phase 5: Findings and recommendations. You learn what was found, what it means, and what maintenance or repair makes sense. If the liner shows cracking or deterioration, you’ll hear about relining options using products like DuraFlex liner systems or HeatShield resurfacing applications, which restore flue integrity without a full tear-out. If the cap is corroded, you’ll hear about replacement options from brands like Gelco or Copperfield. If the chimney is clean and sound, you’ll hear that too, without an invented list of urgent repairs.
This is the model we operate by at Chimney Sweep Folsom home: sweep thoroughly, inspect honestly, document what we found, and fix what needs fixing. Not every cleaning turns into a repair. Most don’t. But the inspection capability is the point. You’re not just getting soot removal; you’re getting a structural assessment of a system that sits inside your walls.
What It Costs: DIY vs Professional in Folsom
Cost comparisons are where most DIY-versus-professional arguments start, and where they usually end in confusion. Here’s a clear breakdown of what the two paths actually cost, including the hidden line items.
| Expense | DIY (First Year) | Professional (Per Visit) |
|---|---|---|
| Brush kit (rods, brush head, drill attachment) | $40 – $120 | N/A (included in service) |
| Shop vacuum (if not already owned) | $60 – $150 | N/A (commercial HEPA vac included) |
| Drop cloths, tarps, protective gear | $25 – $60 | N/A (included) |
| Roof ladder (if roof access needed) | $200 – $300 (rental or purchase) | N/A (included) |
| Chimney cap replacement (if damaged during DIY) | $80 – $250 | N/A (identified during inspection) |
| Professional sweep cost (Folsom market range) | N/A | $180 – $340 depending on chimney type and condition |
| Total first-year cost | $325 – $880 | $180 – $340 |
The DIY cost often surprises people. Between a proper brush kit with adequate rod length, a vacuum capable of handling fine soot without destroying its motor, protective gear, and possibly a roof ladder, the startup costs exceed the cost of a professional sweep by a wide margin. Add in the time investment, which for a first-timer realistically spans four to six hours including setup, cleaning, and cleanup, and the value proposition shifts further.
There are situations where DIY makes economic sense: if you already own the equipment, your chimney is short and straight, you burn exclusively dry hardwoods, and you clean twice per year. That profile covers perhaps a fraction of Folsom homes. For everyone else, the professional route costs less in year one and years after, and it includes inspection and documentation you can’t get from a brush kit.
Common Mistakes to Avoid
- Assuming the brush reached the top. Poly rods flex and bind in offset flues and long runs. You can push until resistance and assume you’ve hit the crown when you’ve actually hit a bend. Without camera verification, you have no idea whether the flue was cleaned end to end. In Folsom’s ranch homes with offset flues, this miscalculation leaves half the liner untouched.
- Using a wire brush on a stainless steel liner. Wire brush bristles scratch and score stainless steel, creating corrosion points and voiding manufacturer warranties. Stainless liners require poly or specialized brushes. If you’ve had a DuraFlex liner installed, check the manufacturer’s maintenance guidance before any DIY attempt.
- Cleaning from the roof without proper fall protection. Rooftop chimney access is the most dangerous part of any sweep, professional or not. Falls from single-story roofs cause disabling injuries every year. A professional company carries workers’ compensation for exactly this reason.
- Neglecting the smoke chamber because it’s invisible. The smoke chamber is where creosote accumulates heaviest and where consumer tools cannot reach. Skipping it doesn’t mean it isn’t there. It means a fire hazard persists invisibly.
- Burning unseasoned wood between cleanings. Sacramento-region firewood sellers sometimes move green wood in fall when demand spikes. Unseasoned wood produces smoky, low-temperature fires that build Stage 2 creosote quickly. A chimney clean in October can be dangerously loaded by January if the wood isn’t dry.
- Treating chemical creosote removers as a cleaning substitute. Products that claim to break down creosote when added to fires do change the chemical structure of deposits in some cases, but they don’t remove the debris from the flue. The loosened material still has to be brushed out. At best, these products supplement mechanical cleaning. At worst, they create a false sense of safety.
- Skipping the inspection because the chimney “looks fine.” The visible firebox tells you almost nothing about liner condition, smoke chamber buildup, or crown deterioration. Folsom’s summer heat cycles and winter freeze-thaw effects stress masonry over time. A clean-looking firebox doesn’t mean a sound chimney.
When to Call a Professional
Certain situations should trigger an immediate professional visit, no DIY deliberation needed. If you haven’t had the chimney swept in over two years, schedule a cleaning before the next burn season regardless of visible condition. If you notice a smoky, acrid smell in the house during warm weather, creosote has likely accumulated to the point of off-gassing, which means Stage 2 or Stage 3 deposits. If you see black, shiny glaze on the firebox walls or hear a crackling sound in the chimney during or after fires, call now. If your carbon monoxide detector has activated near the fireplace or you notice poor draft or smoke spillage into the room, stop using the fireplace immediately and schedule an inspection. If you’re buying or selling a home in Folsom, a professional sweep and inspection provides documentation that protects both parties – see How to Hire a Chimney Cleaning Contractor in Folsom: A Step-by-Step Guide for what to look for. Chimney Sweep Folsom offers free estimates in Folsom, call (833) 589-9896.
Frequently Asked Questions
Professional chimney sweeping in Folsom typically costs between $180 and $340 depending on chimney type, liner condition, and extent of creosote buildup. The price includes full interior protection, mechanical cleaning through the entire flue, smoke chamber cleaning, and a visual or camera inspection with a report of findings. Call (833) 589-9896 for an exact quote on your specific chimney.
The National Fire Protection Association and the Chimney Safety Institute of America both recommend annual inspection and cleaning as needed, with more frequent cleaning for heavy burn use. In Folsom, where burn season typically runs October through March, a single annual cleaning before the season start is the minimum for active wood burners. Homes that burn more than two cords per season or burn less-than-ideal wood may need a mid-season cleaning.
You can clean the portions of the flue you can reach from the firebox, which in a typical Folsom home covers the first 6 to 10 feet of liner at most. The smoke chamber, smoke shelf, and upper flue behind any offsets remain untouched. Consumer kits also cannot generate the mechanical action needed for Stage 2 or Stage 3 creosote. If your chimney is short, straight, and only has Stage 1 deposits, DIY is possible. Otherwise, professional equipment is required.
Chemical creosote removers can help break down deposits so they’re easier to remove, but they do not eliminate creosote from the flue on their own. The loosened material still has to be physically brushed out of the system. Chemical treatment is most effective as a supplement to professional mechanical cleaning for Stage 2 and Stage 3 deposits, not as a replacement for it.
Homeowners insurance typically covers chimney fire damage, but adjusters routinely ask for maintenance documentation when processing claims. A professional cleaning invoice provides documented proof of maintenance. A DIY cleaning provides no documentation, which can complicate the claim and open questions about whether you fulfilled your policy’s maintenance obligation. The safest path for documentation is a professional sweep with an inspection report.
Chimney sweeping addresses the venting system for your fireplace or wood stove, removing creosote and inspecting the flue liner, smoke chamber, and crown. Dryer vent cleaning in Folsom addresses a different system entirely: the duct that carries lint and exhaust from your clothes dryer to the outside. Both matter for fire safety, and both are services a full-scope chimney company like Chimney Repair in Folsom provides under one roof.
The Bottom Line
The DIY versus professional chimney cleaning decision comes down to access and verification, not just cost. Consumer brush kits clean what you can see from the firebox and reach in a straight line. Everything else: smoke chamber, smoke shelf, offset flue sections, upper liner: remains untouched. In Folsom’s housing stock, with its ranch homes and offset flues and long two-story connector runs, leaving those areas uncleaned isn’t a minor gap. It’s where chimney fires start. The legitimate DIY tasks: firebox inspection, ash management, cap checking from the ground, gasket testing: matter and deserve attention. But they complement professional service. They don’t replace it. If you burn wood in Folsom, schedule a professional sweep before the season starts, document it, and then use your own maintenance efforts to keep the fireplace running well between visits. For ongoing care tips, explore our more guides & resources.
Written by the team at Chimney Sweep Folsom, serving Folsom since 2011.
See the difference
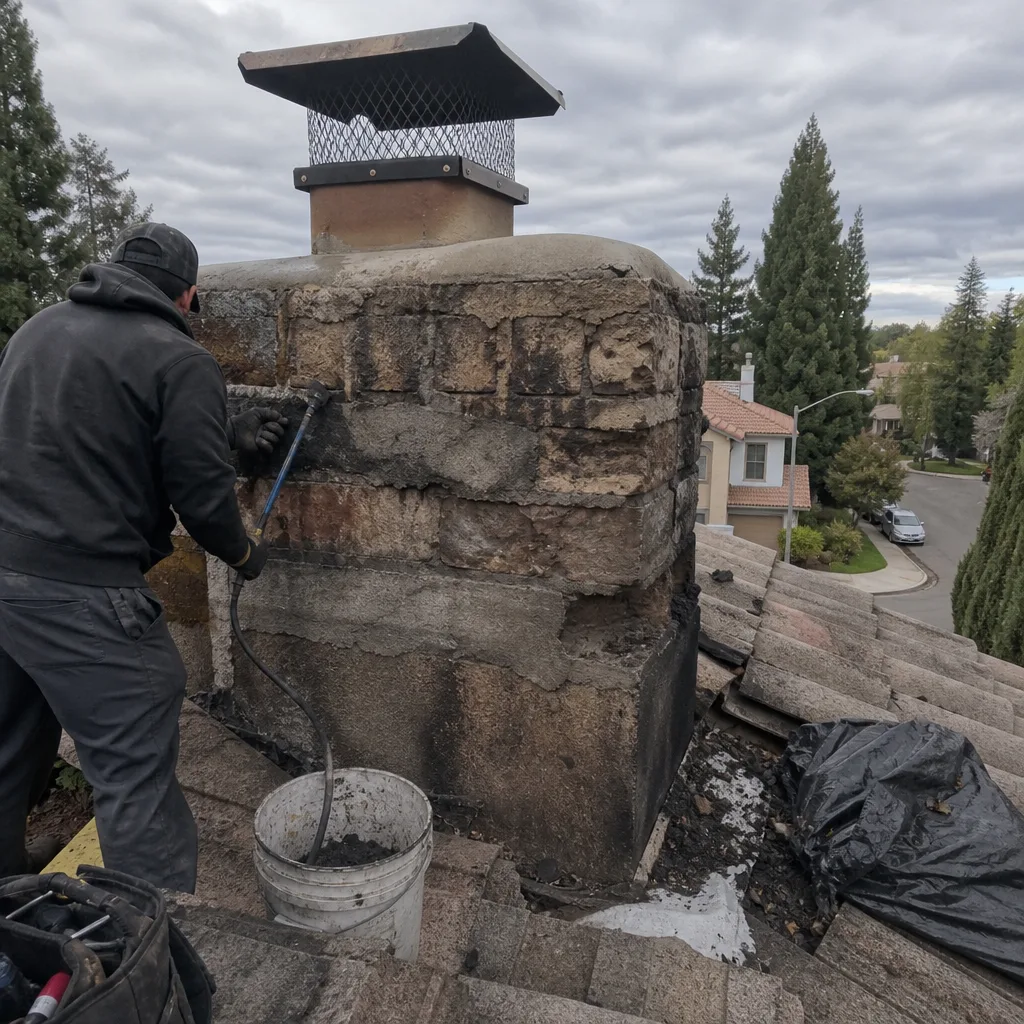 Before
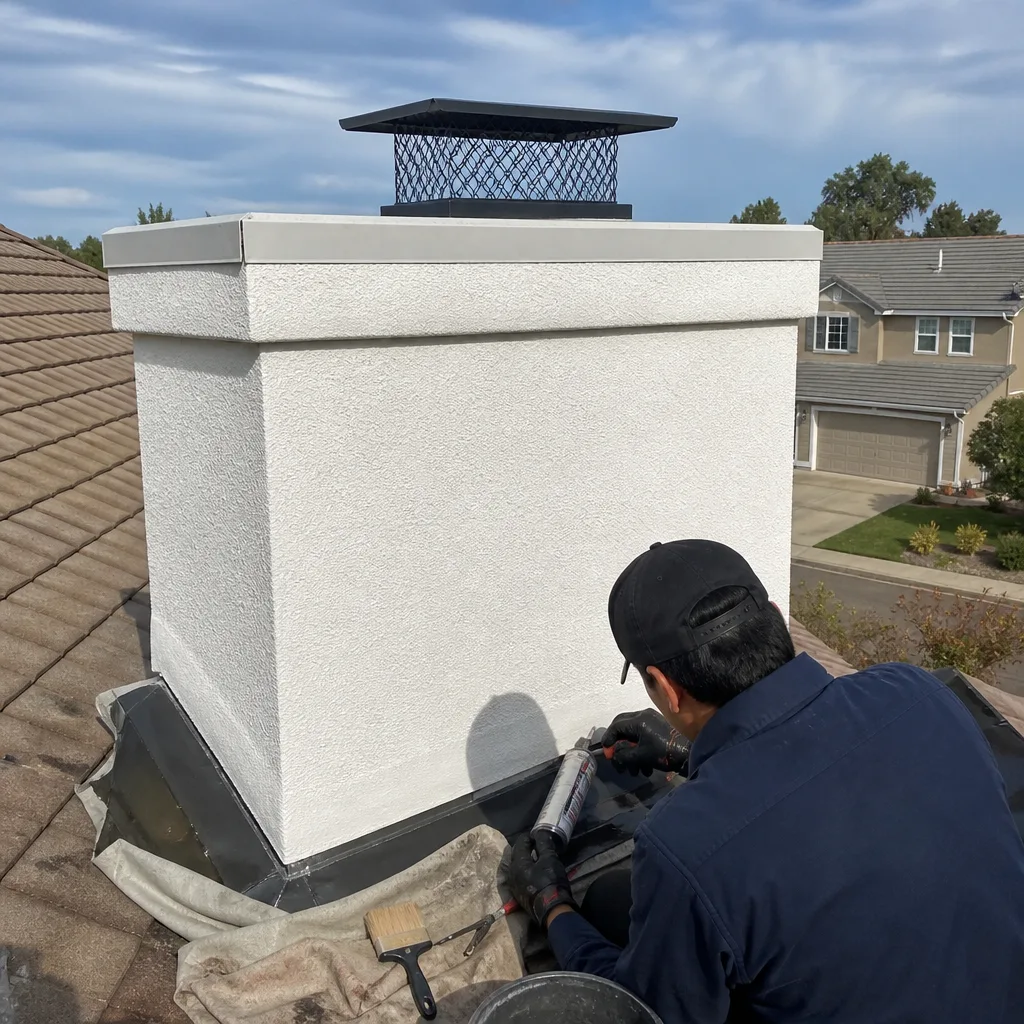 After
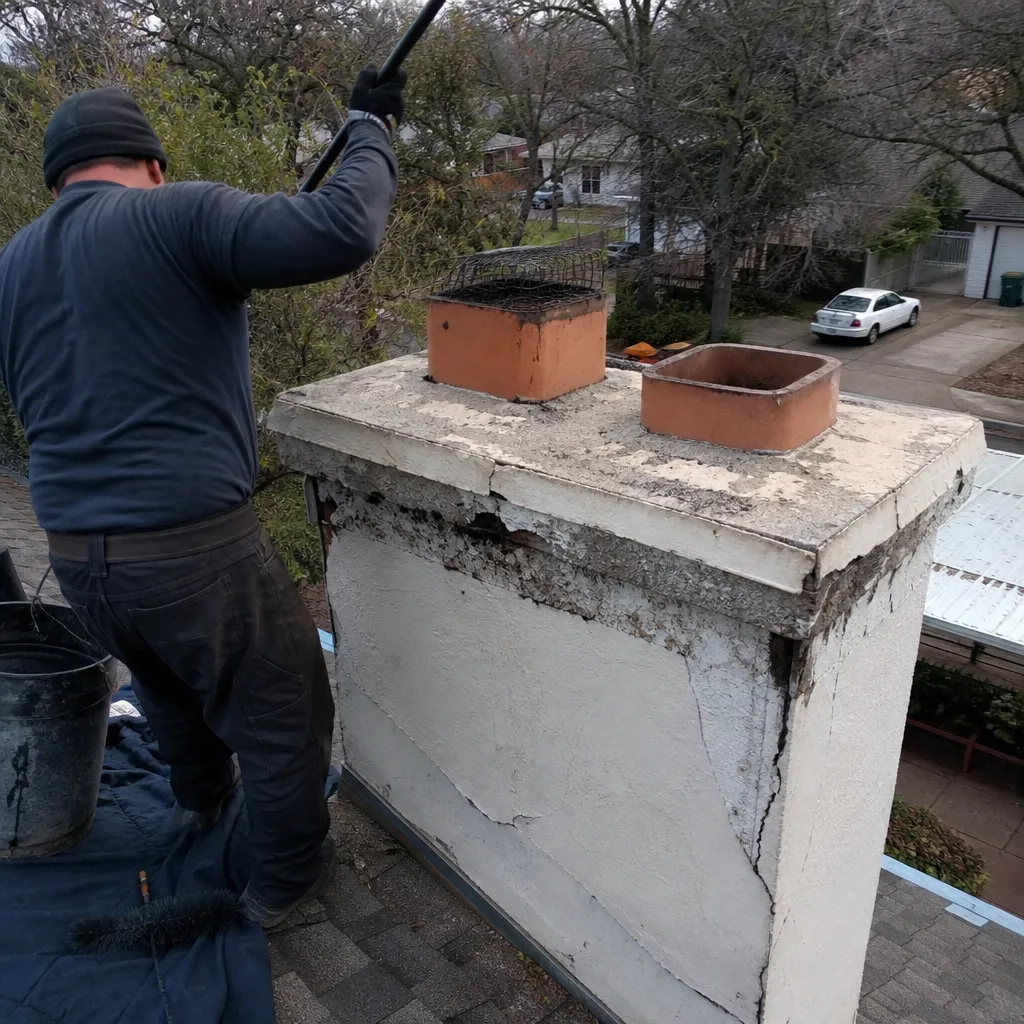 Before
 After
 Before
 After